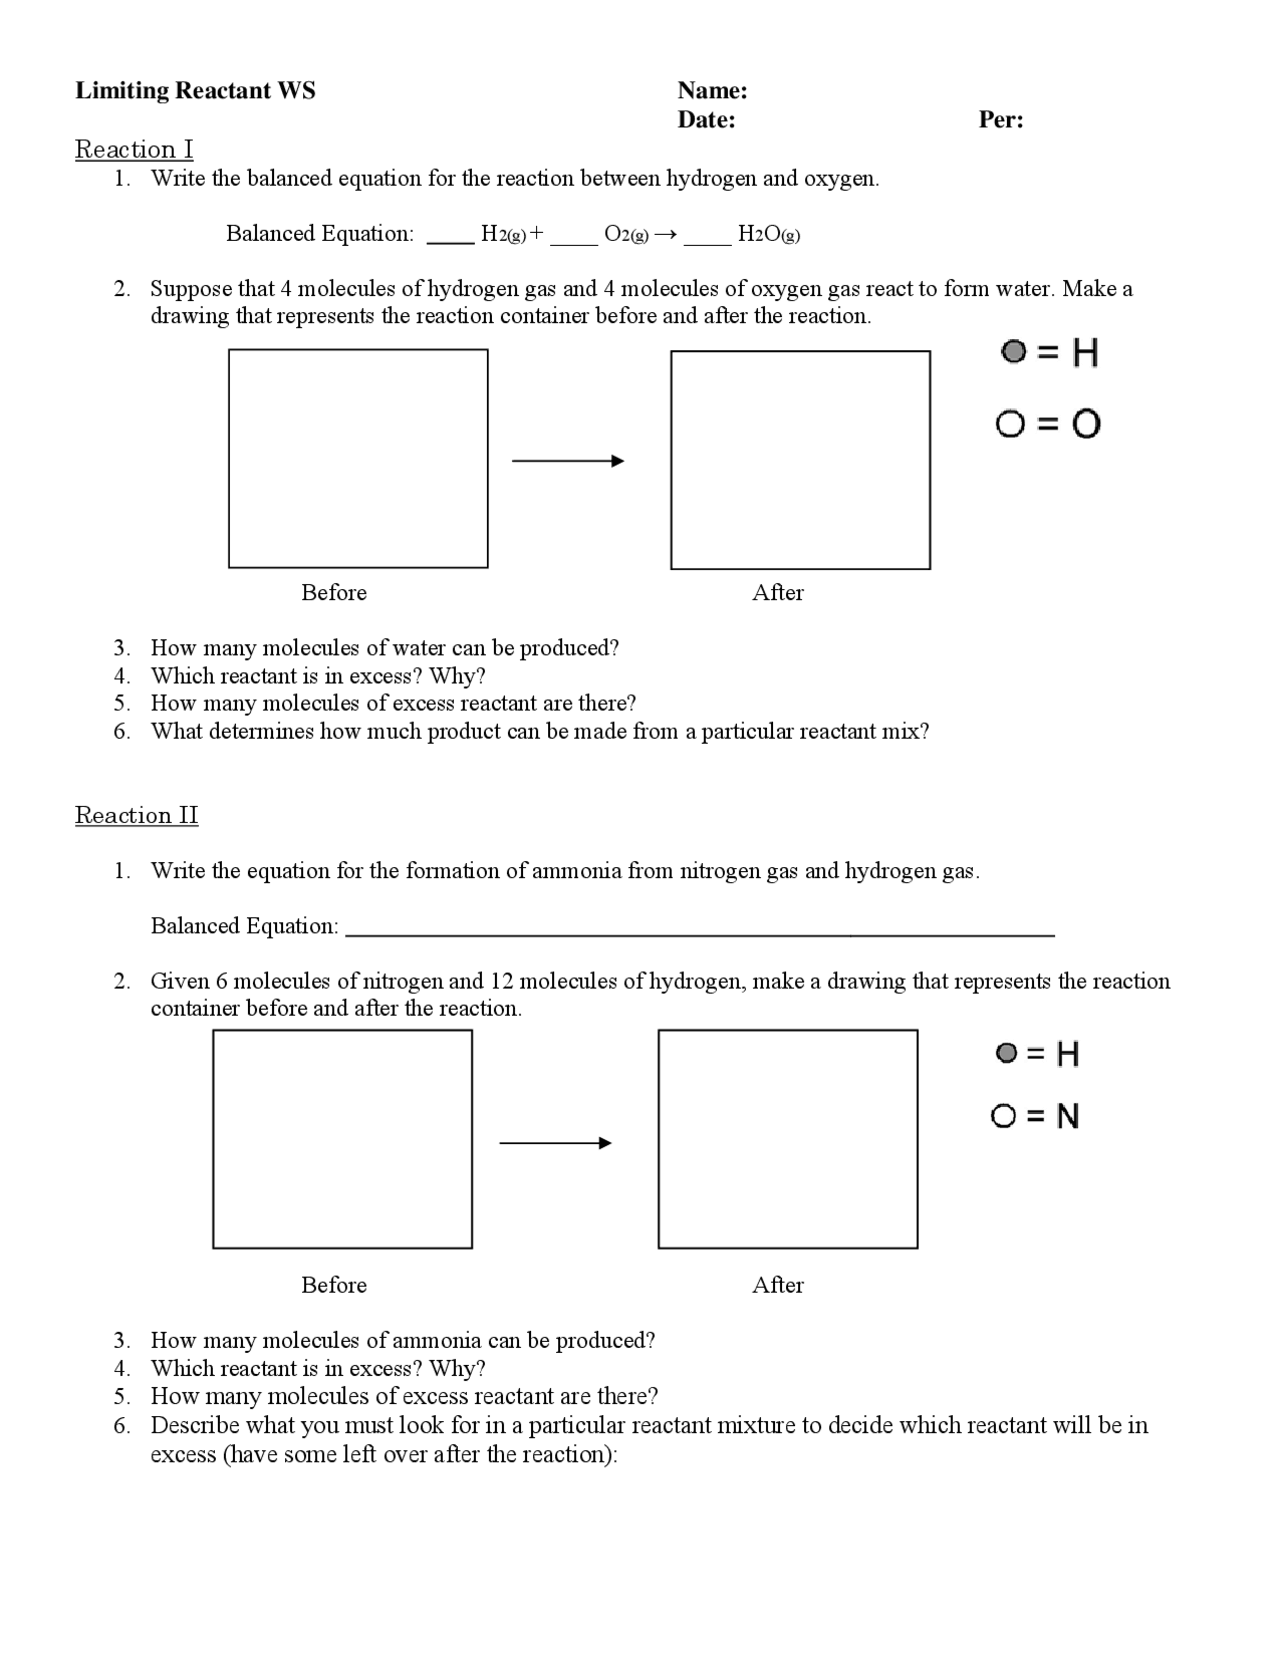
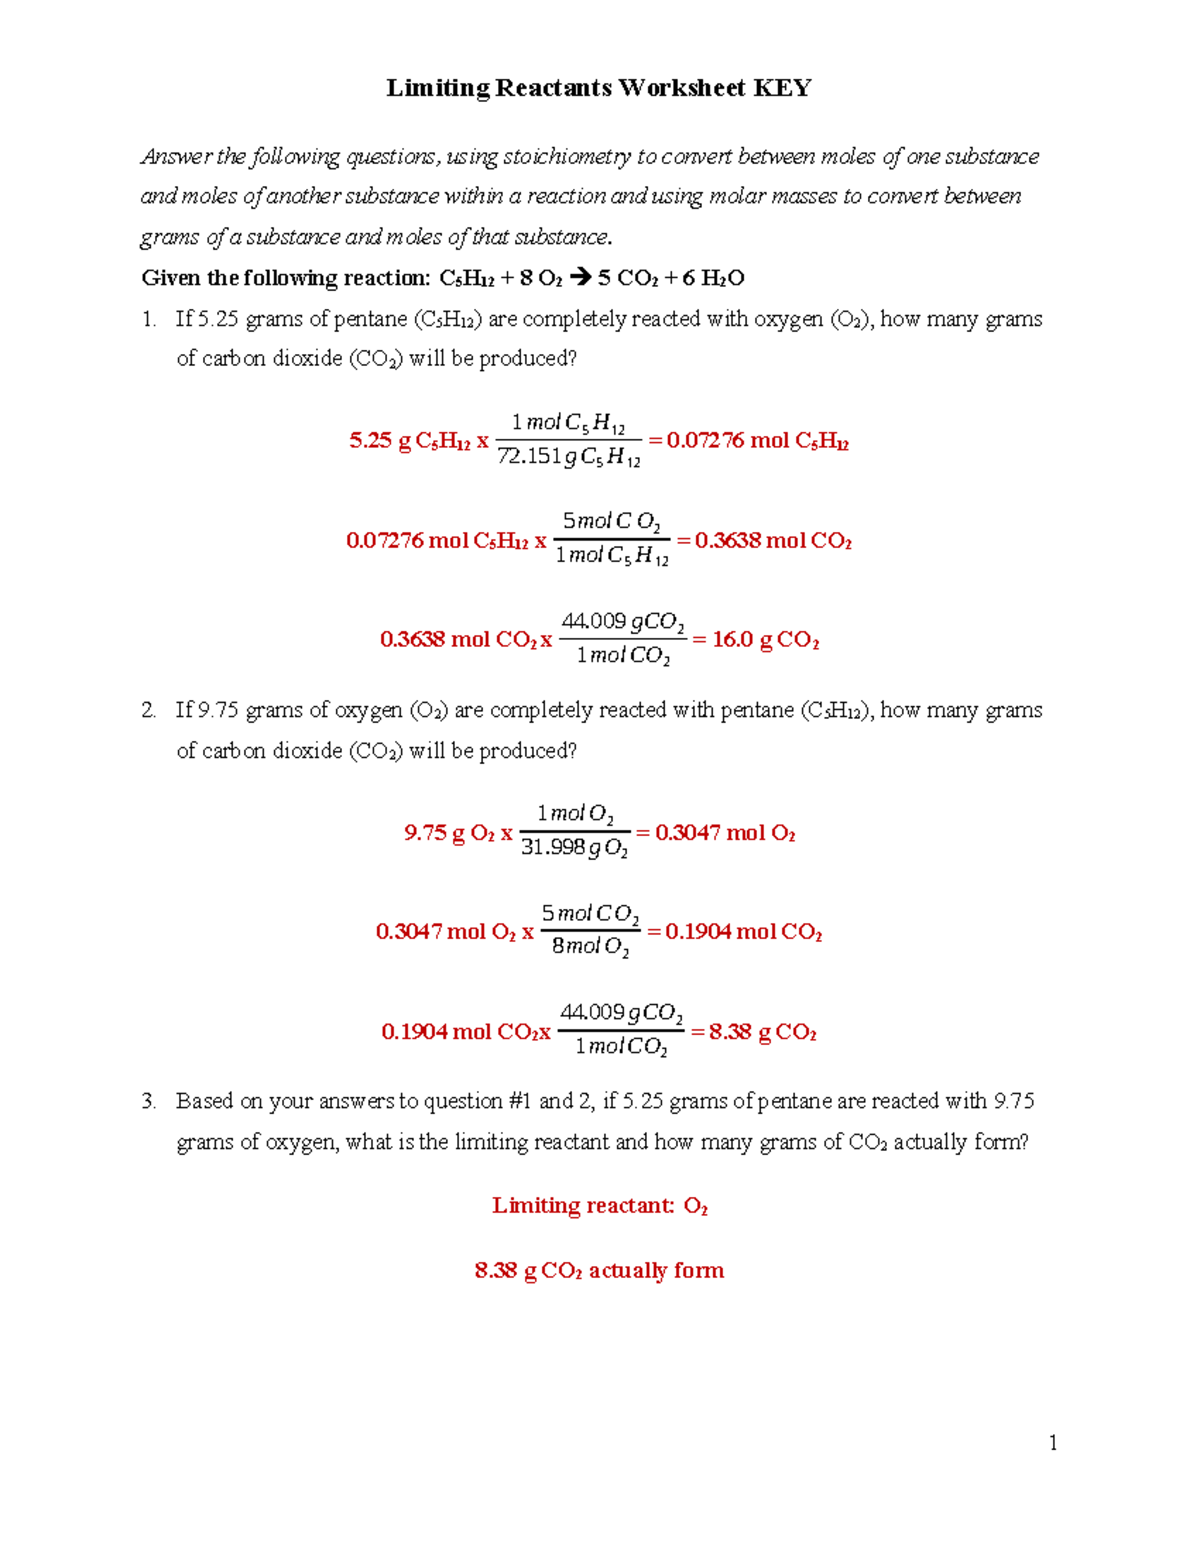
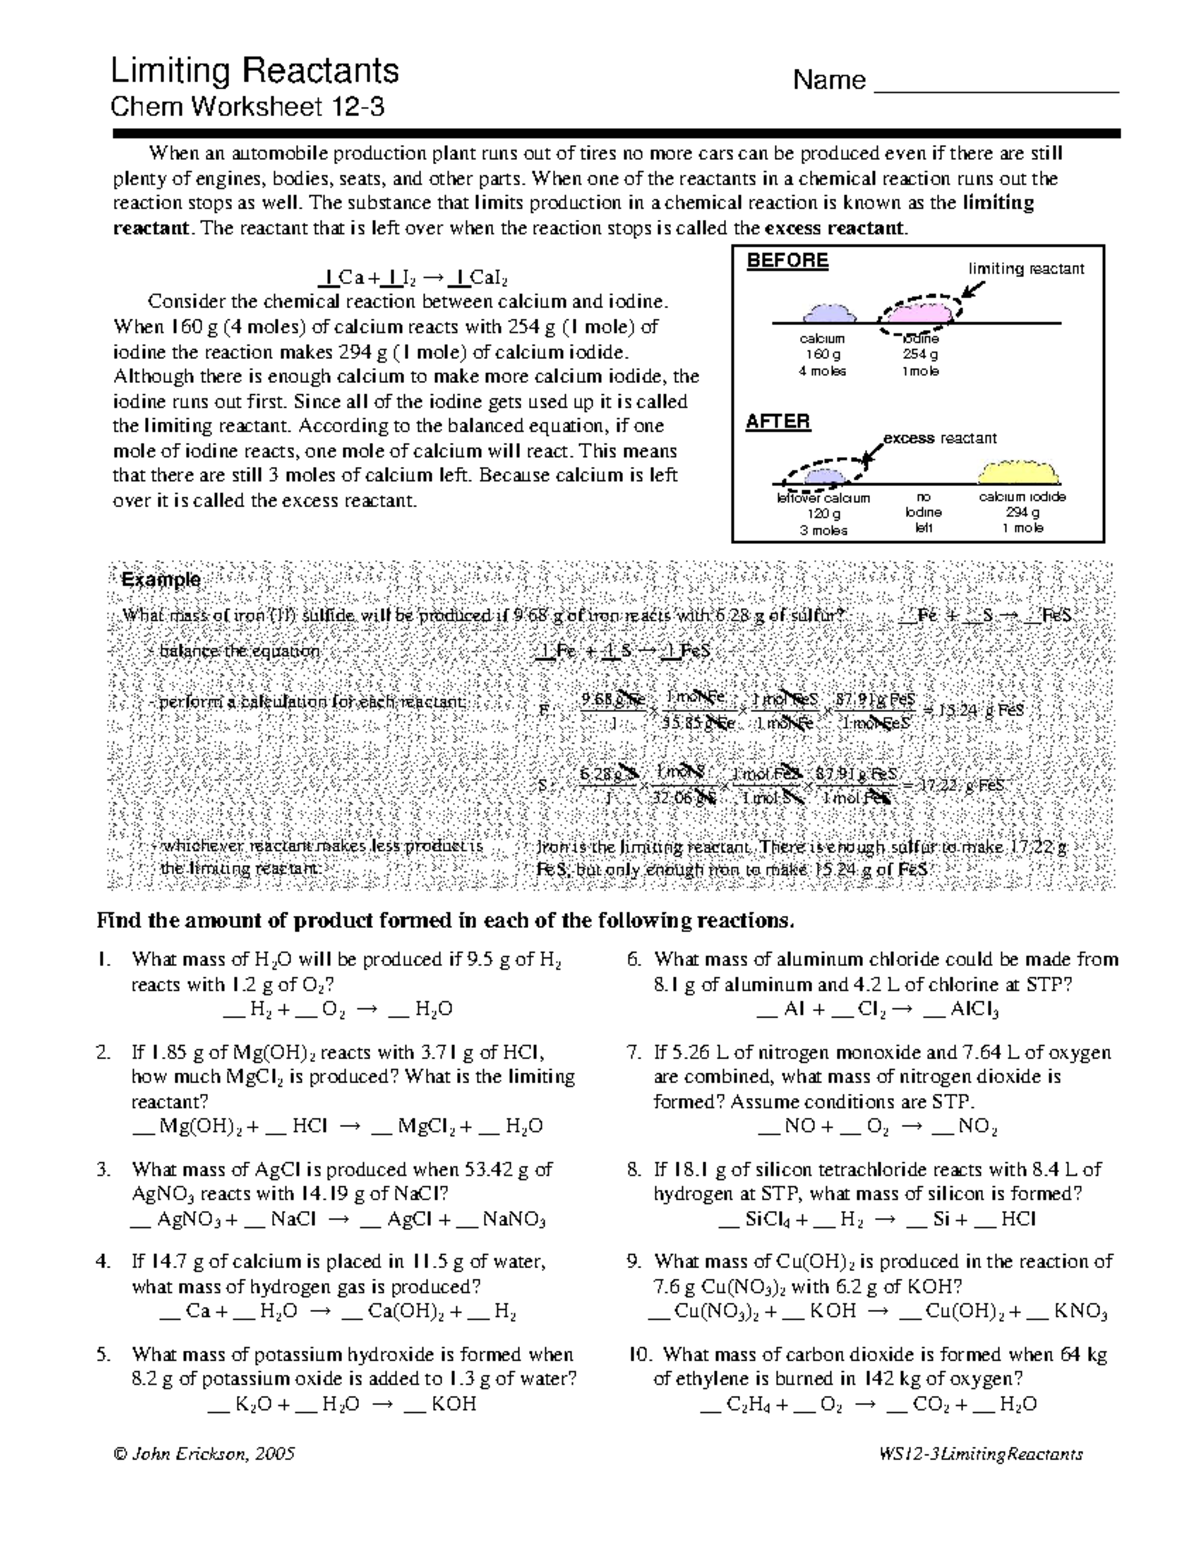
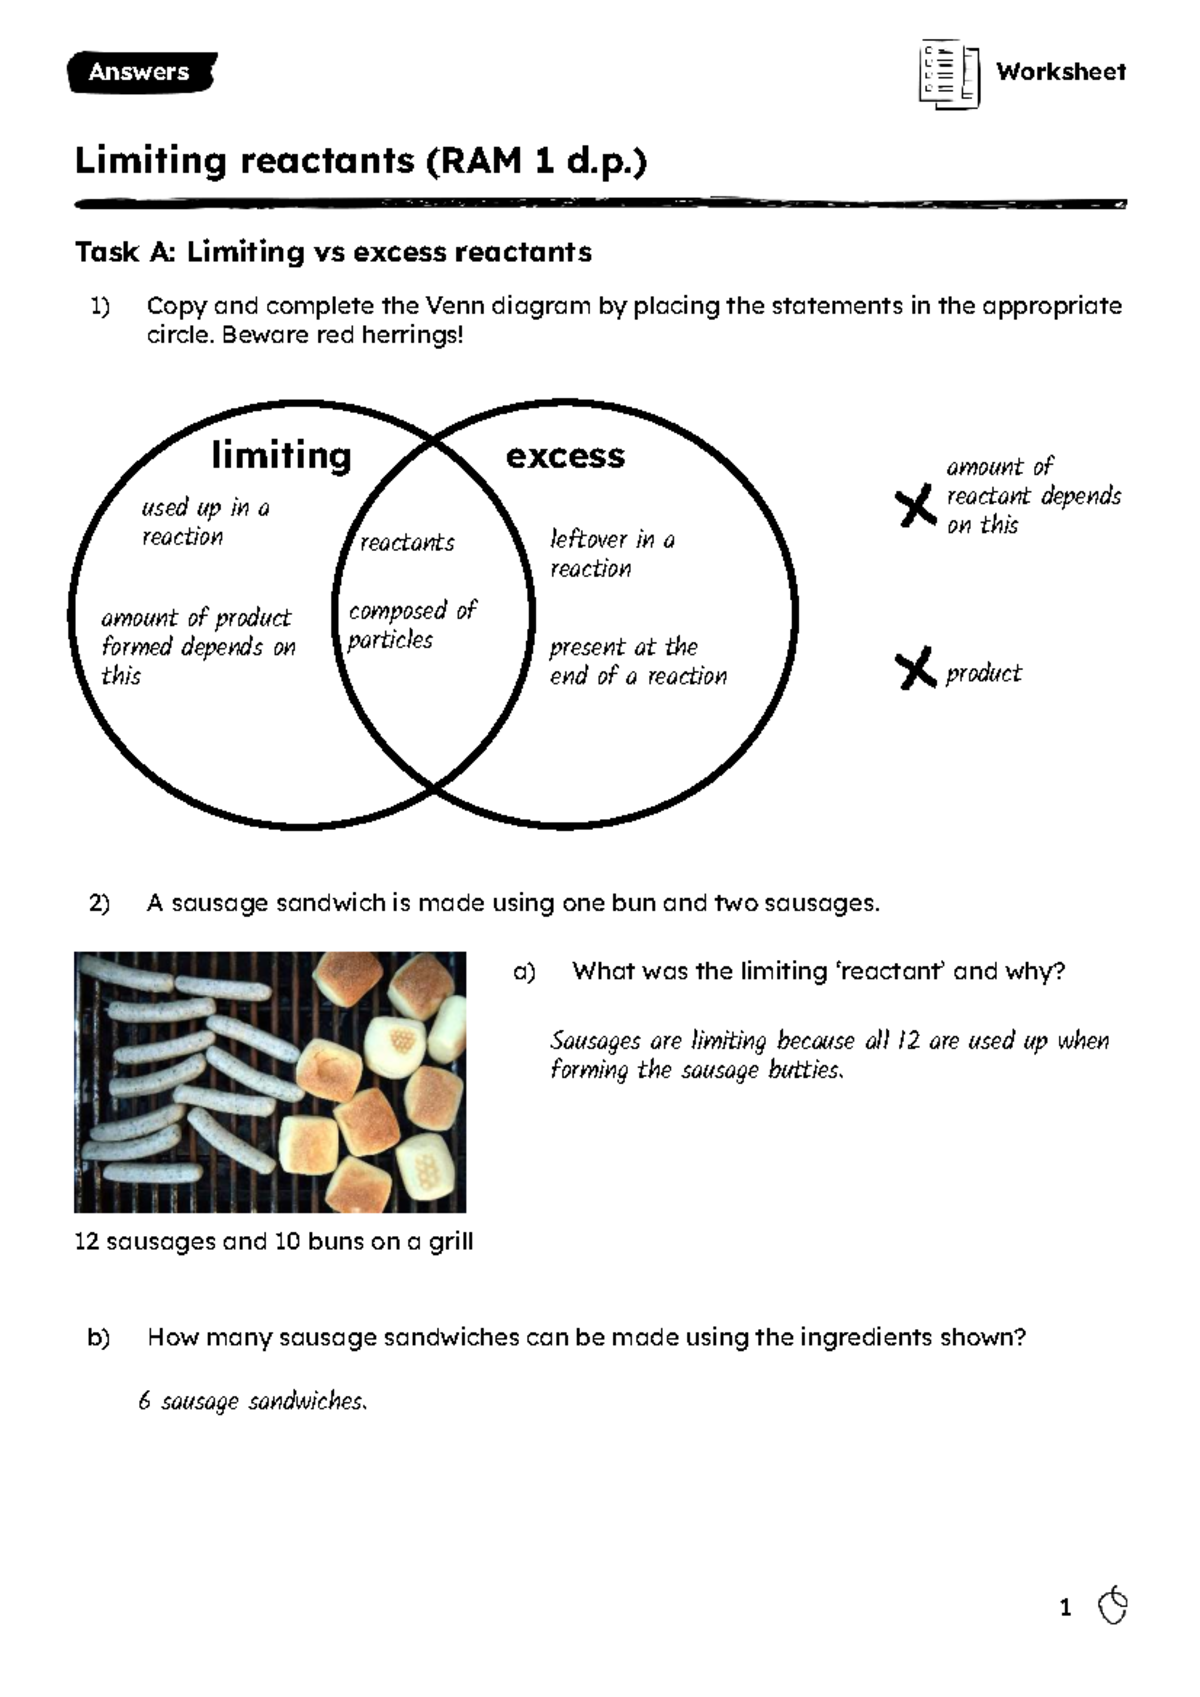
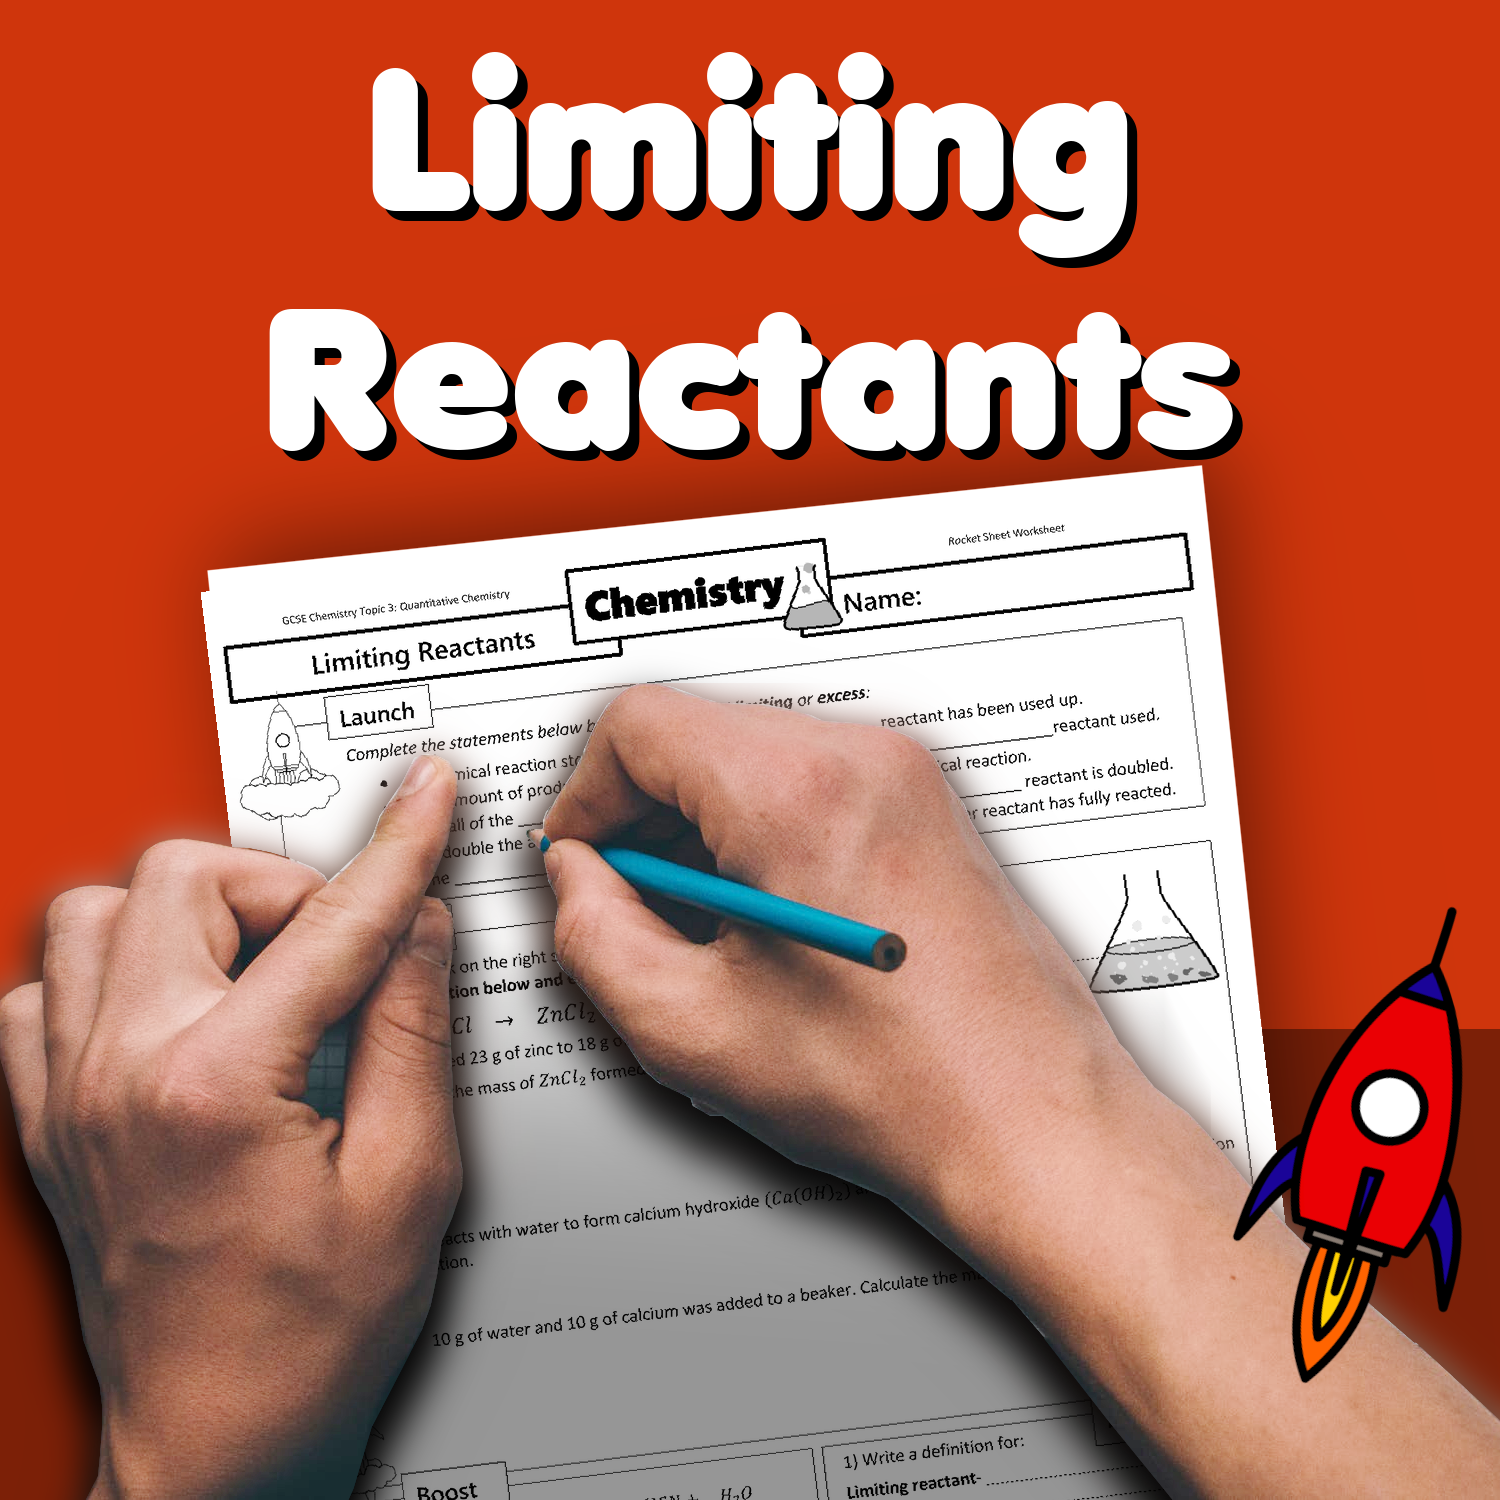
Worksheet On Limiting Reactants provides a focused, hands‑on way for students to master the concept that determines how much product can be formed in a chemical reaction, and it does so with clear, step‑by‑step practice that reinforces both theory and calculation skills.
Understanding Limiting Reactants
Before diving into any worksheet, it is essential to grasp the core idea of a limiting reactant. In any chemical reaction, reactants are combined according to a fixed stoichiometric ratio dictated by the balanced equation. The reactant that is completely consumed first stops the reaction from proceeding further, thereby limiting the amount of product that can be generated. This reactant is called the limiting reactant, while any excess reactants remain partially unreacted.
Definition and Importance
The limiting reactant is defined as the substance that determines the maximum amount of product obtainable from a given set of reactants. Recognizing it is crucial for several reasons: it allows chemists to predict yields, optimize resource usage in industrial processes, and avoid waste of costly materials. In academic settings, mastering this concept is a gateway to more advanced topics such as reaction yields, percent yield calculations, and thermodynamic feasibility.
How to Identify the Limiting Reactant
Identifying the limiting reactant involves a systematic comparison of the available moles of each reactant with the stoichiometric coefficients in the balanced equation. The typical workflow includes converting masses to moles, dividing by the respective coefficients, and then determining which reactant yields the smallest theoretical amount of product. The smallest value indicates the limiting reactant because it will run out first.
Why Worksheets Matter
Worksheets serve as a bridge between abstract textbook explanations and practical problem solving. They give learners repeated exposure to the calculation steps, help develop muscle memory for unit conversions, and encourage analytical thinking when comparing mole ratios. For teachers, worksheets provide a structured assessment tool that can reveal common misconceptions and guide targeted instruction.
Benefits for Students
Students who regularly complete limiting‑reactant worksheets gain confidence in handling multi‑step problems. The repetitive nature of worksheet practice solidifies the conversion between mass, moles, and molecules, which is a foundational skill in chemistry. Moreover, worksheets often include a variety of scenarios—different reaction types, limiting versus excess reactants, and real‑world contexts—so learners see the versatility of the concept.
Benefits for Teachers
From the educator’s perspective, worksheets act as diagnostic tools. By reviewing student responses, teachers can quickly spot where learners stumble—whether it’s balancing equations, performing mole‑to‑mass conversions, or interpreting the final answer. This insight enables educators to adapt lesson plans, provide focused remediation, and design enrichment activities that keep advanced students challenged.
Step‑by‑Step Guide to Solving a Limiting Reactant Worksheet
A well‑designed worksheet typically follows a logical sequence that mirrors the problem‑solving process used by chemists. Below is a detailed walkthrough of each step, illustrated with a representative example: 2 Mg + O₂ → 2 MgO, where 5.0 g of magnesium reacts with 3.2 g of oxygen.
Step 1: Write the Balanced Equation
The first step is always to ensure the chemical equation is balanced. An unbalanced equation will lead to incorrect stoichiometric ratios and, consequently, wrong answers. For our example, the balanced equation is already provided: 2 Mg + O₂ → 2 MgO. Confirm that the number of atoms for each element is equal on both sides before proceeding.
Step 2: Convert Mass to Moles
Next, convert the given masses of each reactant into moles using their respective molar masses. The molar mass of magnesium (Mg) is 24.31 g mol⁻¹, and that of oxygen (O₂) is 32.00 g mol⁻¹. The calculations are as follows:
- Mg: 5.0 g ÷ 24.31 g mol⁻¹ = 0.206 mol
- O₂: 3.2 g ÷ 32.00 g mol⁻¹ = 0.100 mol
These mole values are the raw quantities that will be compared against the stoichiometric coefficients.
Step 3: Compare Mole Ratios
Divide the number of moles of each reactant by its coefficient in the balanced equation to find the “reactant‑to‑product” ratio. For magnesium, the coefficient is 2, and for oxygen, it is 1:
- Mg ratio: 0.206 mol ÷ 2 = 0.103
- O₂ ratio: 0.100 mol ÷ 1 = 0.100
The smaller ratio (0.100) corresponds to oxygen, indicating that O₂ is the limiting reactant. Consequently, the maximum amount of MgO that can be formed is determined by the amount of oxygen present.
Step 4: Calculate Theoretical Yield
Use the limiting reactant to compute the theoretical yield of product. Since the coefficient for MgO is also 2, the moles of MgO produced equal 0.100 mol × 2 = 0.200 mol. Convert this to grams using the molar mass of MgO (40.30 g mol⁻¹): 0.200 mol × 40.30 g mol⁻¹ = 8.06 g. This is the theoretical yield of magnesium oxide for the given reactants.
Step 5: Identify Excess Reactant and Its Remaining Amount
After determining the limiting reactant, calculate how much of the excess reactant remains. Magnesium is in excess. The reaction consumes 0.100 mol of O₂, which, according to the stoichiometry, requires 0.200 mol of Mg (because the coefficient ratio is 2 Mg : 1 O₂). Subtract the consumed moles of Mg from the initial amount: 0.206 mol – 0.200 mol = 0.006 mol left, equivalent to 0.006 mol × 24.31 g mol⁻¹ = 0.146 g of magnesium remaining unreacted.
Step 6: Verify Units and Significant Figures
Finally, ensure that all answers are expressed with appropriate units and rounded to the correct number of significant figures. In most high‑school worksheets, three significant figures are standard, so the theoretical yield would be reported as 8.06 g MgO, and the excess magnesium as 0.146 g.
Common Mistakes and How to Avoid Them
Even experienced students can fall into predictable pitfalls when working through limiting‑reactant problems. Recognizing these errors early helps reinforce good habits and improves overall accuracy.
Forgetting to Balance the Equation
Skipping the balancing step leads to incorrect stoichiometric coefficients, which cascades into flawed mole‑ratio calculations. Always double‑check the equation before performing any conversions.
Mismatching Units
Mixing grams, kilograms, and milligrams without proper conversion introduces systematic errors. Convert all masses to grams before calculating moles, unless the molar mass is given in a different unit.
Incorrect Use of Coefficients
When dividing by coefficients, some students mistakenly divide the mass instead of the mole value, or they forget to apply the coefficient to the product side when calculating theoretical yield. Keep a clear notebook column for each step: mass → moles → ratio → product.
Overlooking the Excess Reactant
Many worksheets ask for both the limiting reactant and the amount of excess reactant left over. Neglecting this part can reduce the overall score. After you determine the limiting reactant, perform a quick “back‑calculation” to find the leftover moles of the other reactant.
Rounding Too Early
Rounding intermediate results can accumulate rounding errors, especially when dealing with small differences between reactant ratios. Retain full calculator precision throughout the problem and round only the final answer to the required significant figures.
Real‑World Applications of Limiting Reactants
The concept of a limiting reactant extends far beyond classroom exercises. In industrial chemistry, manufacturers must calculate the optimal feedstock quantities to maximize product yield while minimizing waste and cost. For instance, in the production of ammonia via the Haber process, engineers constantly monitor the limiting nitrogen and hydrogen streams to maintain efficient operation.
Environmental scientists also apply limiting‑reactant calculations when assessing pollutant formation. In atmospheric chemistry, the amount of ozone formed can be limited by the availability of volatile organic compounds or nitrogen oxides, depending on local conditions. Understanding which precursor is limiting helps policymakers design effective emission control strategies.
Even culinary chemistry benefits from the principle. When baking, the amount of leavening agent (baking soda or yeast) can become the limiting factor that determines how much rise a batter achieves. Bakers who grasp this concept can scale recipes more reliably and avoid under‑ or over‑inflated baked goods.
Tips for Creating Your Own Limiting Reactant Worksheet
Designing a high‑quality worksheet involves balancing challenge with clarity. Below are actionable tips for educators and self‑learners who wish to craft effective practice material.
Select Diverse Reaction Types
Include a mix of synthesis, decomposition, single‑replacement, and combustion reactions. Variety forces students to apply the same core steps across different stoichiometric patterns, reinforcing flexibility.
Vary the Data Presentation
Present reactant quantities in grams, moles, molecules, or even volumes of gases at STP. This compels learners to perform unit conversions and deepens their conceptual understanding.
Incorporate Real‑World Contexts
Frame problems around everyday scenarios—such as calculating the amount of fertilizer needed for a garden, or determining how much fuel a car engine can burn before running out. Contextual relevance boosts engagement and retention.
Provide Answer Keys with Step‑by‑Step Explanations
Students benefit most when they can compare their work to a detailed solution. Include a concise answer key that walks through each calculation step, highlighting common errors and how to correct them.
Use Incremental Difficulty
Start with straightforward problems that involve a single limiting reactant, then progress to multi‑step worksheets that require identification of both limiting and excess reactants, followed by percent‑yield calculations. This scaffolding approach builds confidence before introducing complexity.
Conclusion
Mastering the Worksheet On Limiting Reactants equips students with a practical framework for tackling a cornerstone concept in chemistry, while also providing teachers with a versatile assessment tool. By understanding the theory, practicing systematic problem‑solving steps, avoiding typical mistakes, and seeing how the principle applies in real‑world settings, learners develop both confidence and competence. Whether you are designing a custom worksheet or working through an existing one, the structured approach outlined above ensures that each problem becomes an opportunity to reinforce critical thinking, precision, and scientific literacy.